Monday, January 14, 2013

Super Bowl Snack Attack

Super Bowl Sunday is only a few weeks away. Personally, I could care less about who is playing in the game, I just want to eat! (Which is why I'm thinking of this over two weeks before the game.) For me, SBS is typically spent recovering from my birthday party. My birthdays is February 4th and always falls within a few days of the big game.

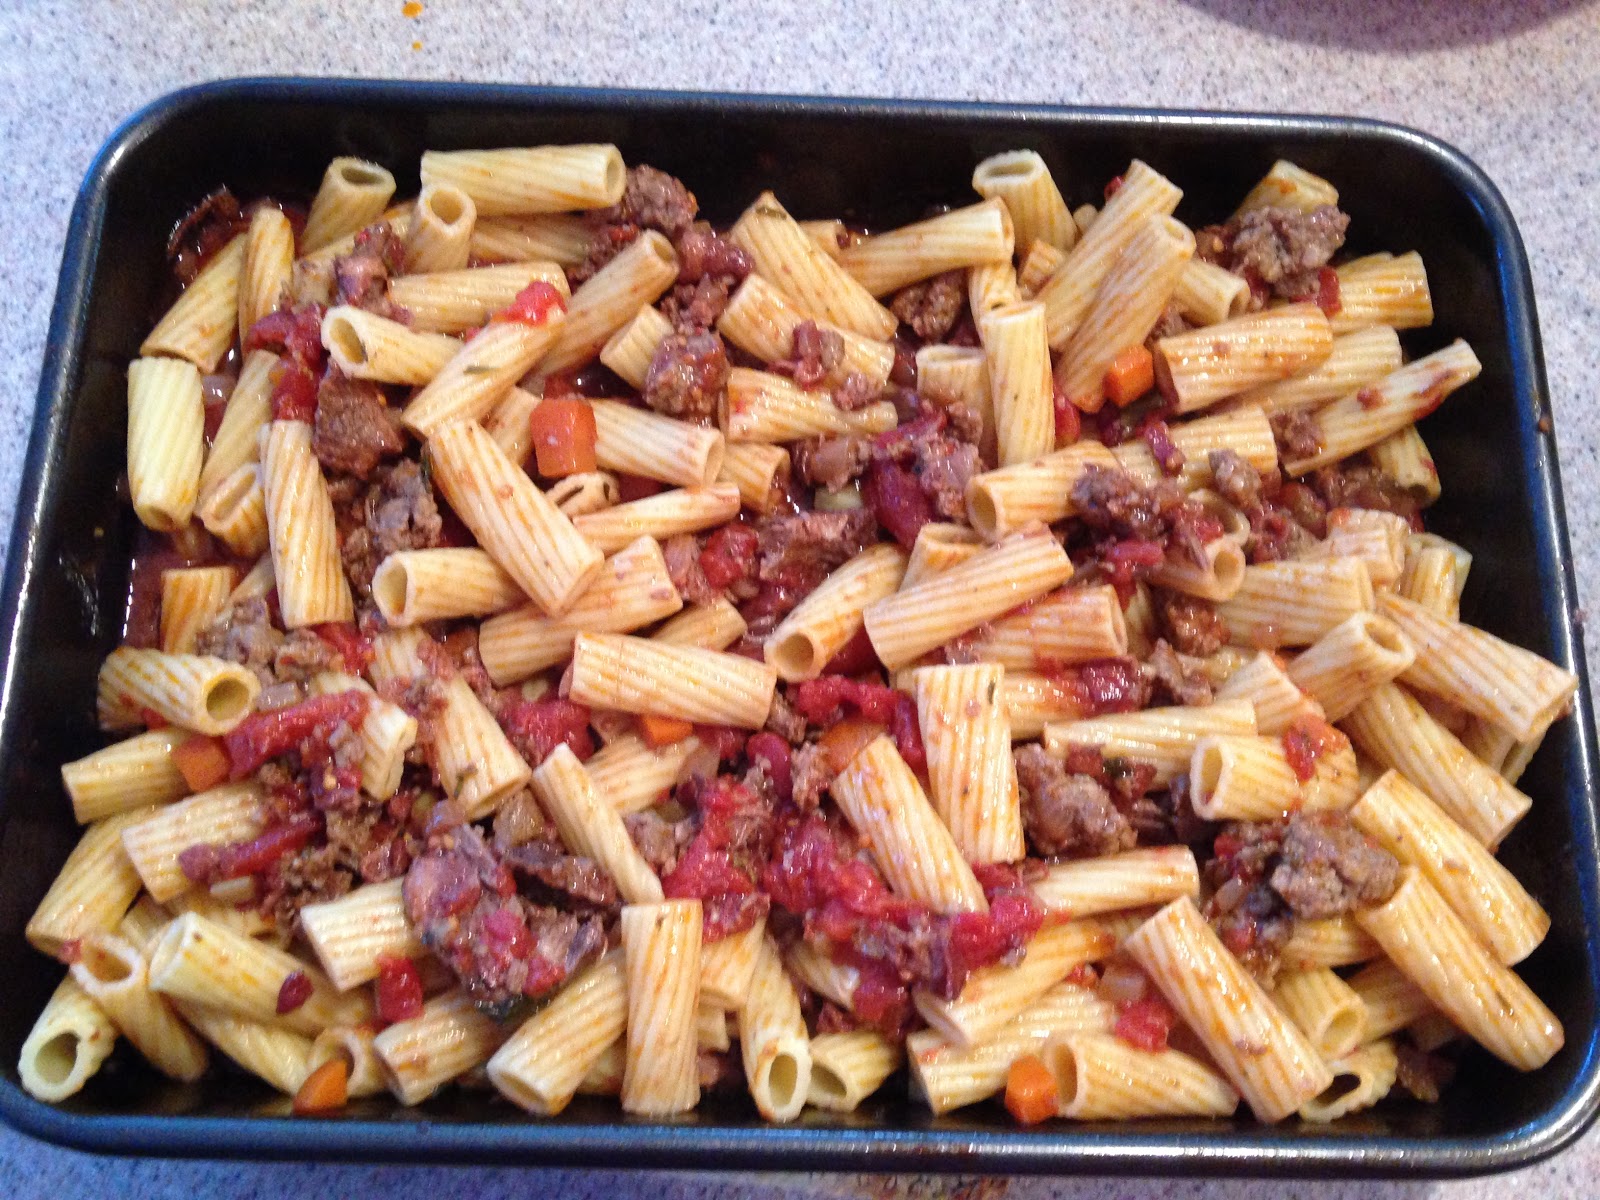
Aside from curing whatever hangover I may have, I love cooking on SBS. There are so many options for great finger foods, pizzas and dips. Personally, I always tend to make dips and sandwiches. Like my new fave: loaded baked potato dip or pesto club sandwiches. Another great one ill be bringing to the party this year is my spicy sausage and tomato dip. It is always a fan favorite.

Recipe
1 lb spicy sausage, you can buy links and remove the casing or the breakfast sausage packed in a tube 8 oz cream cheese
1 can diced tomatoes, Italian style, half drained.

Directions:
Cook sausage in a skillet over medium high heat until browned. Add in cream cheese and mix until melted smoothly with sausage. Finally, add in can of tomatoes, including all of the  juice. Stir until warmed through.

And that's it! How easy was that!? Serve with tortilla chips, crackers or veggies.

Next up, is a great "dude" food: Seasoned Corn Nuts. I have to admit, my first time ever having corn nuts was over the summer and oddly, I was hooked. There was something about the spicy, crunchy corn that I loved. I've been wanting to make some from scratch for a while so I gave it a whirl a few weeks back. These would definitely make a great pre-game snack and are great make-ahead treats since they'll keep for 3 to 4 days after baking.

Recipe:
1 package of giant white corn kernels for this snack. The corn can be found in many Mexican food stores sold either in bulk or packaged by Goya Foods and labeled as Giant White Corn or Maiz Mote Pelado. The larger kernel is preferred.
1/2 tsp salt
1/2 tsp pepper
1 tsp Italian spices
Olive Oil

Directions:
1) Soak dried corn in 8 cups of water for 12 to 18 hours, or longer, if desired. When finished soaking, discard water and use paper towels to dry the kernels. I soaked mine over night and until I got home from work the next day. It really doesn't matter as long as you soak at least 12 hours.
2) When ready to bake corn nuts, preheat oven to 400 degrees.  
3) On a large rimmed, non greased baking sheet, spread out a single layer of corn kernels then add just enough oil to coat the kernels without much extra on the pan. 
4) Pop in the oven for roasting and stir with a wooden spoon every 5 to 6 minutes to ensure they don't burn. Bake for 25 to 30 minutes, or until golden brown. Note: you will get a few burned pieces, but that's okay. They just taste extra crunchy. 
5) Once cooked, carefully, use a paper towel to absorb excess oil as corn. While still oily, sprinkle seasonings over the kernels, turning them to season completely. Other seasonings options include: kosher salt, garlic salt, Cajun, popcorn seasonings, or any desired favors of choice.
6) Let cool then serve!
I hope everyone has a great game day!

Monday, January 7, 2013

BLT Turkey Risotto

The initial goal of this blog was to teach myself how to cook and learn the basics on my own. Three years later, I find myself incredibly comfortable in the kitchen and can quickly throw together a pretty decent meal without little preparation. The younger version of me that started this blog would be so proud!! But sadly, with that comfort comes a lack of change in my kitchen so I like indulge myself every now and then with an exceptional dish.

Last week, I opted for BLT Turkey Risotto. I was cooking for my boyfriend's friends so on top of pleasing my appetite, I wanted to wow them with my culinary skills. I think this recipe did the trick, though I highly advise you use bacon instead of pancetta. While pancetta is quite tasty, there is nothing better than some fatty, in your face, bacon flavor to liven up a meal. Plus, boys love bacon! (DUH!)

Regardless of which porky meat you choose, I highly recommend this dish. In one delightful little bowl your body enjoys grains, protein, dairy and veggies. I think that's a pretty balanced meal...even if it's not quite the lightest dish you've ever eaten. ;)

Sorry for the poor picture quality. I only had my boyfriends phone handy.
Recipe:
6 cups chickn broth
1 stick unsalted butter
4 oz diced pancetta
1 onion, finely chopped
1 1/2 cups arborio rice
1/2 cup dry white wine
1 lb ground turkey
1 cup grape tomatoes, halved
4 cups baby arugula
3/4 cup grated parmigiano-reggiano cheese
salt and pepper
1 tbsp olive oil

Directions: 
1) In a medium saucepan, bring the chicken broth to a boil. Lower the heat to low and cover to keep warm. 
2) While the broth is boiling, heat the olive oil over medium-high heat and cook the turkey until fully browned.
3) Next, in a large saucepan, melt 2 tablespoons butter over medium heat. Add the pancetta and cook, stirring, until crisp and golden, about 5 minutes. Using a slotted spoon, transfer to paper towels to drain. Add 2 more tablespoons butter and the onion and cook, stirring, until softened, about 5 minutes. Stir in the rice and cook for 1 minute; add the wine and cook until absorbed, about 2 minutes. Add about 1/2 cup warm stock and cook, stirring constantly, until absorbed. Continue adding the stock 1/2 cup at a time, stirring, until the rice is al dente and cooked through, about 20 minutes (the risotto should be slightly soupy, but not runny). 
4) Stir in the turkey and tomatoes and cook, stirring, until the tomatoes soften, about 3 minutes. Stir in the remaining 4 tablespoons butter, the arugula, 1/2 cup cheese and the pancetta. Season with salt and pepper. Serve with the remaining 1/4 cup cheese.

Unless they were being nice the guys said they absolutely LOVED the meal.  Obviously, I was beyond thrilled that the dish went off without a hitch! I could rest easy that night. ;)


Wednesday, January 2, 2013

Tuscan White Bean Soup with Kale and Sausage


In my last post I mentioned my stockpile of frozen soups. One of my favorite gems of the year was one I made back in the spring: Tuscan White Bean Soup with Sausage and Kale.

When I first made this I was on a huge white bean kick which oddly enough hasn't really faded one bit. ;)  I seriously love them!! Not only are they inexpensive but they're also a great source of protein.

In a pinch to serve something quick and healthy you should definitely try this one! It tastes great if you swap the sausage with ground turkey too!

1 lb ground sausage, can be a mix of sweet and spicy
2 cans of white beans, drained and rinsed
1 small onion, diced
1 tbsp olive oil
1 bunch if kale, torn into small pieces
6 cups chicken broth
Salt and pepper to taste

1) Heat olive oil over medium high heat. Saute onion until translucent then add sausage and cook until fully browned.
2) Once meat is cooked through, toss in kale and saute for 2 to 3 minutes. Add in white beans and broth and bring to a boil. Once boiling, turn heat to low and simmer for about 20 minutes.
3) Season with salt and pepper then serve.

Sunday, December 30, 2012

Quick & Easy Pasta with Shrimp and White Beans

One of the hardest things about the holiday season is sticking to your budget. There will always be that one extra gift that you have to get or that happy hour that you "must" attend. I know it's inevitable so before the holidays I was sure to stock my freezer full of grab-and-go meals, mostly soups. They served more than their purpose. I plowed through my stock pile in no time but have no complaints. While my freezer was getting roomier, my wallet was staying full

Post holiday meals, on the other hand, are a little trickier especially since I was out of town for a week. Once my brother, his girlfriend and I returned from our 12 hour road trip from Michigan to New York having only eaten one sandwich and an ungodly amount of potato chips, I needed a real meal!

Concocting said meal was the challenge! I always keep shrimp in my freezer and white beans in the pantry so I set out to combine the two in a pasta dish. It turned out great!

1 1/2 lbs frozen shrimp, thawed
1 can white beans, rinsed and drained
3 tbsp butter
2 cloves garlic, minced
3/4 cup white wine
1/2 cup Parmesan cheese
1 box short rigatoni or other tube shaped noodle
1 cup reserved cooking water

1) Prepare pasta according to package. Reserve 1 cup of cooking water before straining.
2) Heat one tbsp of butter in a saute pan over medium heat. Add in garlic and saute until fragrant, about one minute. Next, add shrimp and cook for about two minutes on each side until pink in color.
3) Push shrimp aside so it's not sitting directly over the heat. Add the beans and remaining butter. Once butter is melted, add wine and simmer until reduced by half. Once reduced, pour in reserved water and Parmesan and heat until melted.
4) Stir shrimp back into sauce. Season with salt and pepper and toss over cooked noodles.

I put this together by the seat of my pants but it turned out pretty great! The color is one dimensional but the flavor was amazing.

Tuesday, December 25, 2012

Merry Christmas to All!

Merry Christmas everyone!! I hope you all are enjoying your time with your friends, family and loved ones. I've had a wonderful day that started with watching my adorable nephews open Christmas presents. It was so cute! I think Grady was beyond confused when he saw my whole family together since he's used to only seeing us separately. The initial look on his face was priceless.

Next, we dug into our own gifts and had breakfast. My mom found a great breakfast bake recipe from Paula Dean. It had hashbrowns, eggs, sausage, bacon, cheddar, Parmesan cheese and spinach, which was my moms added healthy touch. It was delicious! And as soon as we were finished eating, it was time to get to work on dinner.

The Christmas Feast!


We made the same Worlds Simplest Turkey that I made on Thanksgiving, the roasted veggies and salad from Tuesday's Hoboken Feast. The new dish I brought to the table was Rachel Ray's Christmas Pasta. It was outrageous! It was packed full of meat and wonderful flavors of red wine and San Marzano tomatoes. This is a great pasta for special occasions or dinner parties.

Christmas Pasta!


Christmas Pasta Recipe:
6 tbsp extra virgin olive oil
1/4 lb bacon, sliced
6 bone-in beef short ribs, about 1 1/2 pounds
Salt and pepper 
2-3 carrots, chopped
2-3 ribs celery, chopped 
2 onions, finely chopped
7-8 cloves garlic, minced 
2 tbsp fresh rosemary, chopped
2 tbsp fresh thyme, chopped
2 tbsp fresh sage
Leaves from 1 sprig fresh oregano, or marjoram, chopped
A pinch of ground cloves
3 tbsp tomato paste 
2 cups Malbec, or other rich red wine,
1 10 1/2 oz can  beef consomme 
1 28 - 32 oz can  San Marzano tomatoes
3/4 lb bulk hot Italian sausage
3/4 lb bulk sweet Italian sausage
2 lbs rigatoni pasta
1 cup grated pecorino cheese 

Directions:
1) Preheat the oven to 325 degrees . In a large Dutch oven, heat 4 tbsp. olive oil, over medium-high heat. Add the bacon and render out the fat until crisp. Remove from pan with a slotted spoon and set aside for later use.
2) Season the short ribs generously with salt and pepper. Add to the pan and brown on all sides. Set aside. Stir in the carrots, celery, onions, garlic, rosemary, thyme, sage, oregano and cloves. Partially cover the veggies and cook to soften a bit, 5 to 8 minutes. Once softened, add the tomato paste and stir for a minute or two to incorporate, next add the wine, consomme and tomatoes. Return the short ribs and bacon to the pot, stir everything together, bring up to a simmer, cover and bake until the meat is tender to the touch or falls apart easily, 2 to 2 1/2 hours.
3) Take the meat off the bones and shred with two forks or with your fingers. Add the meat back into the sauce. Place the pot over medium heat to bring up to temperature.
4) Meanwhile, in a large skillet, heat the remaining 2 tbsp. of olive oil,  over medium- high heat. Add the sausages to the pan and cook, breaking up with the back of a wooden spoon, until browned, crisp and crumbly, 8 to 10 minutes. Drain the sausage and then add it to the meat sauce. Stir together to combine.
5) While the meat sauce is coming together, bring a large pot of water to a boil for the rigatoni. Salt the boiling water and cook the rigatoni to al dente.
6) Toss the pasta with the meat sauce and top with cheese.

We rounded out our Christmas evening with a trip to the movies to see Parental Guidance. As cliche as the previews of this movie were it turned out to be pretty good. Plus, my young doppelganger, Bailee Madison was in it so it obviously couldn't be bad.

With that, Merry Christmas to all and to all a good night!

Friday, December 21, 2012

A Holiday Feast for Eight

A sneak peak...

I think it goes without saying that I LOVE to cook so it should be no surprise that I jump at any opportunity to cook for friends and family. As luck would have it, the opportunity arose this week!

I'm heading to Michigan Sunday so I thought it would be nice to spend some time and cook for my boyfriend on Tuesday night. After a quick chat, he also invited his roommates, three friends and one of their girlfriends. Cooking for 8? No problem! The more the merrier, right?

The menu was set, the guests had arrived and we were off and running in the kitchen. We (and when I say we, I mean me and my boyfriend turned sous-chef...cooking for 8 ain't easy) started with the veggies.

Roasted Veggies Recipes:
6 tbsp olive oil
1 lb carrots
2 containers/bags of Brussles sprouts
1 head cauliflower
1 bag of baby redskin potatoes
1 tsp salt
1/2 tsp ground black pepper
2 tbsp dried Italian herbs
1 tbsp garlic powder

Directions:
1) Preheat oven to 375 degrees. Remove florets from the cauliflower, about 1 inch pieces. Next, slice carrots in 1 inch pieces, halve the potatoes then trim then halve Brussles sprouts lengthwise. Mix together in a large oven-safe dish and toss with oil and spices.
2) Roast in oven for about 1 hour, until the veggies and potatoes are tender. If more than an hour is needed, check back every 10 minutes for perfect doneness.

Once the veggies were in the oven, we dove into our Bacon Wrapped Meatloaf prep. (I mean that literally.) I was cooking in a "boy" apartment that is obviously not equipped with my standard culinary needs. We covered a large rimmed baking dish in foil and rolled out our entire meat mix there. I was mixing meat by hand as my sous chef poured small amounts of milk, breadcrumbs and parm atop the meat mass. It was hilarious. At the end of it all, we created a delicious looking piece of meat, or shall I say meats? There are five types of meat in this after all.

Bacon Wrapped Meatloaf Recipe:
1/2 cup onion, diced
1/2 cup red bell pepper, diced
3 cloves garlic, minced
2 tbsp olive oil 
1 1/4-1 1/2 C seasoned breadcrumbs
1 cup milk
3/4 lb hot sausage
1 1/4 lb meatloaf mix (beef, veal and pork)
2 eggs
1/2 cups Parmesan cheese, grated 
1/2-1 tsp red pepper flakes, optional
1/2 tsp salt 
1 tsp pepper
1 1/2 tsp oregano  [Dry Goods]
1/2 tsp basil
1 pkg bacon strips, 10-12

Directions:
1) Preheat oven to 375 degrees (in my case, this was already done.)  Line a rimmed baking sheet with foil or parchment paper.
2) Heat olive oil in a large skillet over medium heat. Cook bell pepper, garlic and onion until they are tender and the onions are translucent. Transfer to a large bowl to cool. This is the same bowl you'll want to mix the meat in (or in my case, a baking sheet.) ;)
3) Add in breadcrumbs and milk, mix well. Add all meat and eggs to bowl. Gently mix without compacting. Sprinkle with cheese and seasonings including the optional red pepper flakes.
4) Transfer mixture to prepared baking sheet. Form a 10×4″ log, roughly.  Start at one end and begin laying bacon over the meatloaf log in a diagonal pattern. Overlap each piece a little bit to allow for any shrinkage that will occur while the bacon cooks. Be sure to leave 1/2″ overhang on all sides. After covering the entire meatloaf, carefully fold bacon underneath the edges.
5) Bake on the middle rack for 50-60 minutes or until a meat thermometer reads 160 when inserted into the center of the meatloaf. Broil for an additional 3 minutes to crisp up the bacon.
6)  Let the load rest for about 10 minutes. Cut into 1/2 – 1″ pieces with a serrated knife.

Top left: Adding the bacon; Right: Fresh out of the oven; Bottom left: a beautifully sliced piece.


When we took this bad boy out of the oven the entire apartment smelled of sweet bacon-y goodness. Before I can tell you how amazing it was, let met get to our last dish: Apple Walnut Salad with Cranberry Vinaigrette. I knew how heavy and fatty the meatloaf would be so I looked for a salad recipe with just the right amount of tartness to balance out the meal. It was perfect! So perfect that I'm  planning to make this again for Christmas. 

Apple Walnut Salad with Cranberry Vinaigrette Recipe:
1/2 cup chopped walnuts
1/4 cup cranberries
1/4 cup balsamic vinegar
1 cup red onion, chopped
1 tablespoon white sugar
1 tablespoon Dijon-style prepared mustard
1 cup vegetable oil
salt and pepper to taste
10 cups mixed salad greens, rinsed and dried
2 Red Delicious apples, cored and thinly sliced

Directions:
1) Toast walnuts in the oven, on a pan or in a toaster oven until lightly toasted.
2) In a food processor or blender, add the cranberries, vinegar, onion, sugar, and mustard. Blend until smooth. Slowly add the oil then season with salt and pepper.
3) In a salad bowl, toss together the greens, apples, and enough of the cranberry mixture to coat. Sprinkle with walnuts, and serve.

We rounded out the meal with a quick batch of Pillsbury Grand Biscuits. Once all were served, we dug in! Every single bite of the meatloaf was incredible. Not only could you taste the bacon in every bite, but also the kick of the hot sausage along side the beef, veal and sweet sausage. It was pure meat heaven!!! The red peppers mixed in made it pop even more. None of us could get over how great it tasted. It's definitely more labor intensive than most meatloaves but definitely worth the effort! Besides, isn't the best part of cooking a great meal sharing it with friends and fam!? ;)

Wednesday, December 19, 2012

Christmas Cookies Galore!

During the holiday season, one of my all time favorite things to do is bake cookies. Two years ago a few friends came over and we baked all day. It was such a great time and so nice to be able to share the freshly baked treats with friends and coworkers. I couldn't let another bake-less year go by so it was game on Monday night!

I've been happily searching Pinterest and food blogs for weeks and found the perfect selection of sweet holiday treats. After a quick run to the grocery store, Lauren, Ashley and I were on a roll. (Pun intended.)

We started with Peanut Butter Blossoms. We made these during our last cookie extravaganza but sadly, our past knowledge failed us and we burned our first batch. Oops! Luckily, the rest were great.

Next, we focused our efforts on Red Velvet Cheesecake filled cookies! After prepping one batch of dough we realized we needed to double the recipe which was perfect since red velvet cake mix was buy one get one free! We'll get back to these cookies later.

Once mixed,  the batter went in the fridge for two hours and we moved on to Chocolate Chocolate Mint Chip Cookies. These are seriously one of the best cookies EVER!! I personally love thin mint Girl Scout cookies and these babies blow them out of the water! It's the same great taste but soft and chewy. Yummmmmy!!!

Left: Chocolate Chocolate Mint Chip; Right: Peanut Butter Blossom


As if our fat girl fest wasn't bad enough, we opted for one more cookie - a secret weapon of sorts. A Mint Oreo Cookie Stuffed INSIDE a Chocolate Chip Cookie!! Talk about sensory overload! They came out of the oven looking like giant chocolate chip mushrooms and tasted like pure chocolatey mint heaven. The ringer: they took like 5 minutes to make! You literally wrap pre-made (or homemade) chocolate chip cookie dough around the Oreo until its completely covered, place it on a cookie tray and bake on 350 degrees for 11 to 15 minutes, until golden brown. Once cooled, you'll definitely want to take a bite to see how awesome they look on the inside!!

Mint Oreo Filled Chocolate Chip Cookies!


We weren't quite done yet. While the red velvet dough was refrigerating, we prepped the cream cheese filling. Check out the recipe for full details. I have to say, it was a lot of fun scooping, flattening, filling then rolling the cookies. They baked to perfection (seriously, look at the pics!) and tasted amazing. The texture of the cookie was much like whoopie pie, soft and gooey! We opted out of the glazed topping since we planned to bag the cookies up as gifts. Regardless, they were great!

This is one recipe I have to share...so simple yet so delicious!

Red Velvet Cheesecake Cookie Recipe:
1 box red velvet cake mix
2 tablespoons all-purpose flour
2 large eggs
1/2 cup canola oil
1 teaspoon vanilla extract
For the cheesecake filling:
4 oz cream cheese, at room temperature
2 cups powdered sugar
1 teaspoon vanilla extract

Directions:
1) Preheat oven to 350 degrees and line a large baking sheet with a silicone mat or parchment paper.
2) In a large bowl combine cake mix and flour. Whisk until clumps disappear. In the bowl of a stand mixer, mix together cake mix, flour, eggs, oil and vanilla extract. Mix until smooth. The dough will be pretty thick and oily, which is what you want. Place the dough in ziplock bag and refrigerate for at least two hours.
3) In the meantime,  make the cheesecake filling, using a mixer, combine cream cheese, powdered sugar, and vanilla extract. Mix until smooth. I did this after making my other cookies.
4) Once dough as set, take a ice cream scoop and make balls of dough, about 3 tablespoons each. Flatten balls with your hand then using a teaspoon, scoop out cheesecake filling and place in the center of the flatten dough. Gently wrap the dough around the filling until fully closed and place on the baking sheet.
5) Bake for 11-13 minutes or until the cookies begin to crackle. Let the cookies cool on the baking sheet for 5 minutes. Remove from baking sheet to a wire cooling rack and cool completely.

The complete Red Velvet Cookie Process


After four hours and only one minor mess up we had about 85 cookies and suffered from major sugar overdoses! No complaints here.  It really was a great time...even eating them for four consecutive days. That is what the holidays are all about, right? Now get your butt in the kitchen and make some of these! Christmas is only six days away!